This month, I had the opportunity to speak with Mr. Liu Daqian, a professional wedding videographer who has been using drones for capturing wedding moments. He shared his insights on how drones are used in wedding filming from his own experience, hoping to inspire others interested in this field. Here’s what he had to say:
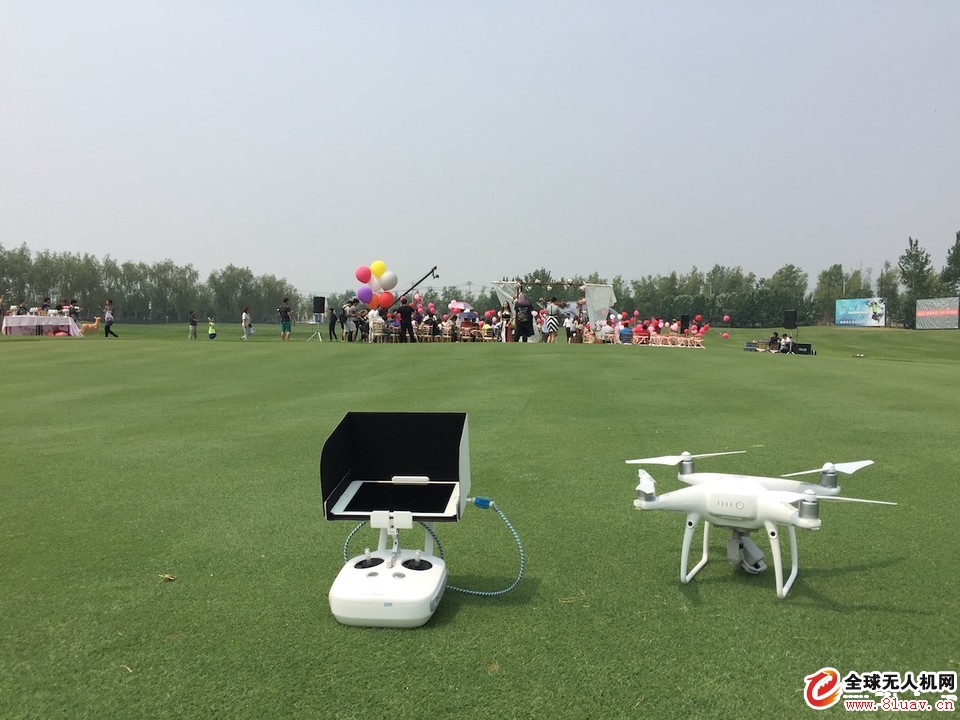
Since my first flight with the DJI Mavic 4 in 2016, I was immediately drawn to the unique perspective that drones offer. However, flying in Beijing is quite costly, so I didn’t fly as often as I would have liked. Most of the time, I just helped friends take some casual shots, which were more like samples than full productions. But now, I aim to create complete wedding films, and recently, I completed a project called “Golf Course Lawn Wedding.â€
As a professional in this field, I want to share my process and experiences before and after the shoot.
ⶠEarly Communication
Communication before the event is crucial. As a practitioner, it's best to talk directly with the photographer to align on the vision and understand the environment. This helps in planning the shooting strategy and equipment accordingly. Also, confirming the exact timing is essential—no mistakes there.
â· Preliminary Preparation
Based on the communication, I checked the drone’s performance. It’s always better to be prepared. I also calculated the number of batteries needed—this shoot required seven batteries for the DJI Mavic 4 Pro. I made sure the phone, accessories, and vehicle were all ready. No detail is too small.
⸠Live Shooting
1. Shooting Format
I always choose 4K resolution, even though the final output is 1080P. The higher quality footage ensures better clarity in the final product. I use D-LOG mode for color grading, but the latest firmware locks the ISO at 500 and makes EV adjustments unavailable. Despite this, exposure still looks good without checking the histogram.
There's also a helpful feature: a small square button in the interface that instantly shows a colored preview while recording in D-LOG mode. It's a great tool for real-time feedback.
2. Empty Lens Acquisition
Before the ceremony, I take many empty shots to enrich the footage. In the indoor ballroom, I manually moved the drone to simulate walking and capture smooth motion.
I try to capture shots that traditional equipment can't easily get. Close-ups help avoid visual fatigue from too many wide shots.
3. Ceremony Record
During the ceremony, I focus on key moments such as the arrival of the car team, guests entering, and the bride and groom’s vows. I usually shoot manually to keep the footage dynamic and avoid rigid movements. Safety is always my top priority—nothing is more important than ensuring the drone doesn’t cause any issues.
However, unexpected problems can happen. During one shot, the video feed froze and showed a pixelated screen. I switched between 5G and 2.4G frequencies several times but couldn’t fix it. Eventually, I had to rely on experience to continue the shoot. Later, I learned that this is a common issue during large events due to interference from other wireless devices.
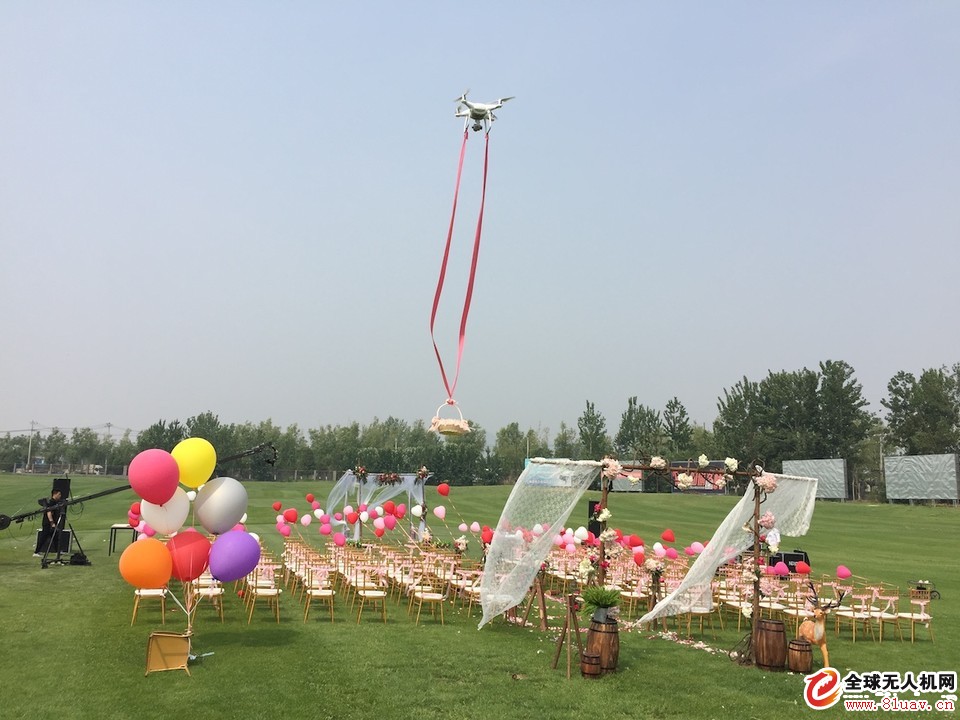
4. Ring Delivery
During the ring delivery, the video feed became unstable again. To ensure safety, I used a long ribbon—over 3 meters—to avoid any risk of the drone getting tangled. I also made sure the ribbon was straightened before taking off to prevent it from being caught in the propellers.
Instead of putting the ring in the basket, I let the best man signal when it was time to drop it. The final shot came just in time, and the wind added a nice touch to the image.
5. Material Inspection
After the ceremony, I reviewed the footage to make sure nothing was missed. Even though everything should have been fine, checking the material is always a good idea for future editing.
â¹ Post-Production
1. Material Management
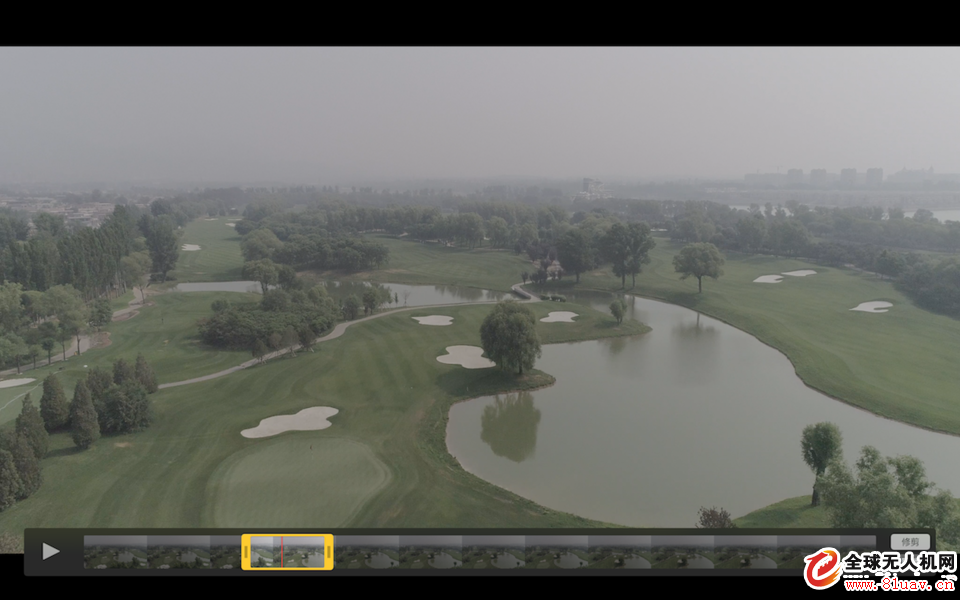
I organize the footage by scene and lens for easy access. Before deleting any clips, I back them up. For editing, I use QuickTime’s "Command+T" shortcut to trim videos efficiently without losing quality.
2. Concept Development
I believe in working within my capabilities. I don’t aim too high; instead, I focus on what I can realistically achieve with the available materials and time.
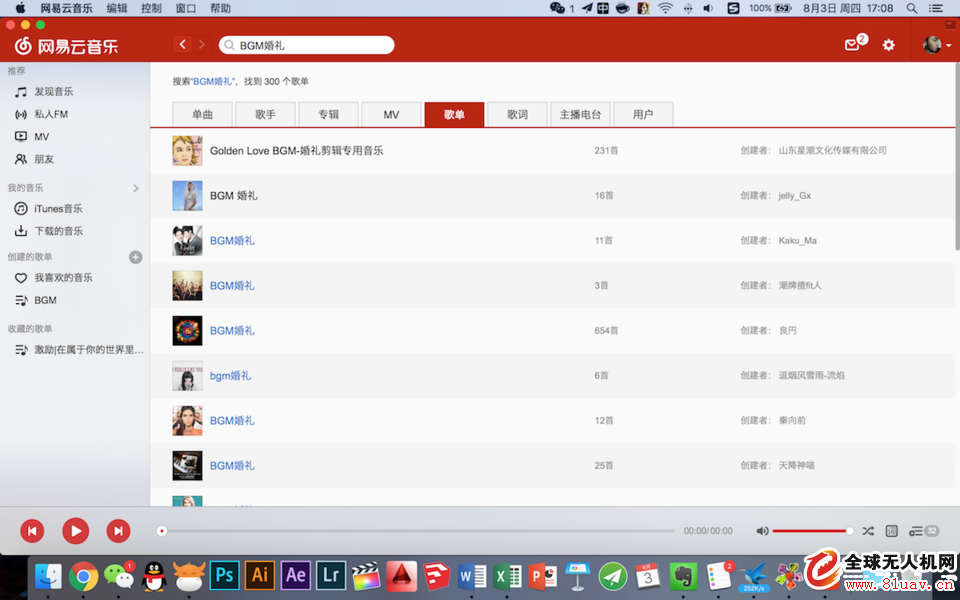
3. Music Selection
Wedding music isn’t always suitable for aerial footage. I prefer something unique and less cliché. Using platforms like NetEase Cloud Music helps me find the right background track.
4. FCPX Editing
I use Final Cut Pro X for editing because of its efficiency and quality. I start by matching the music to the footage, then refine the storylines and pacing.
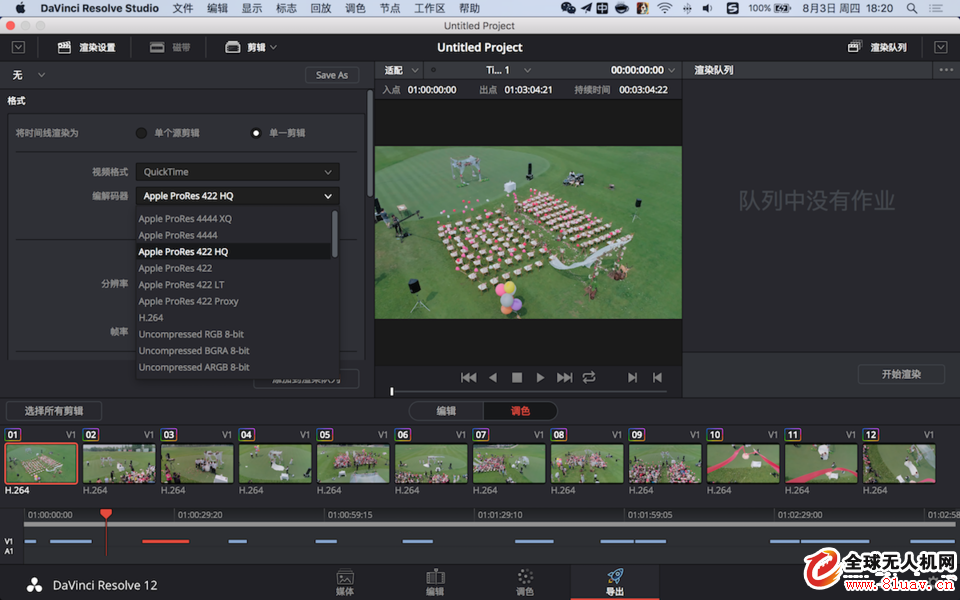
5. DaVinci Color Grading
I export the project to DaVinci for color correction. I tried various LUTs but found them too heavy or unrealistic. I eventually went back to the default DJI 709 profile. Noise reduction is necessary due to the high noise levels in D-LOG footage, but I only do time-domain noise reduction due to hardware limitations.

Finally, I render the video in ProRes 422 HQ, which is sufficient for most projects. The final output is 1080p at 25fps, and that’s it.
Embedded Scanners,Embedded Barcode Scanner,Embedded Qr Code Scanner,Embedded Barcode Reader
Guangzhou Winson Information Technology Co., Ltd. , https://www.barcodescanner-2d.com